
How to Disable Lock Screen on Windows 11
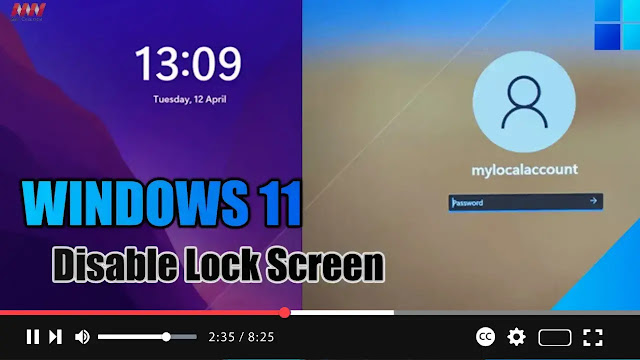
The lock screen in Windows 11 serves as the initial visual interface upon startup, displaying various information and a custom background image. While visually appealing, some users prefer to bypass this screen to expedite the sign-in process. In this guide, we'll walk you through the steps to skip the lock screen and proceed directly to the sign-in screen on Windows 11.
Step 1: Access the Local Group Policy Editor Begin by opening the Start menu on your Windows 11 device. Type "Local Group Policy Editor" in the search bar and select it from the search results.
Step 2: Navigate to the Lock Screen Policy Within the Local Group Policy Editor, navigate to the following path: Computer Configuration > Administrative Templates > Control Panel > Personalization.
Step 3: Enable the "Do Not Display the Lock Screen" Policy Locate the "Do not display the lock screen" policy in the right pane of the editor. Double-click on the policy to open its properties.
.webp)
Step 4: Enable the Policy In the policy properties window, select the "Enabled" option to activate the policy. Click "Apply" to save the changes, then click "OK" to close the window.
Step 5: Restart Your Computer To apply the changes, restart your computer. Upon reboot, Windows 11 will bypass the lock screen and directly display the sign-in screen.
Conclusion: By following these straightforward steps, you can skip the lock screen and streamline the sign-in process on Windows 11. Whether you prefer a faster login experience or simply find the lock screen unnecessary, customizing your system settings allows you to tailor Windows 11 to your preferences. Take control of your login experience today by skipping the lock screen on Windows 11.
About AAN Creation
No comments
Post a Comment